Emily Lakdawalla • Sep 06, 2012
Cure for the blues: processing images of a blue planet
This afternoon I spent a pleasant hour or two preparing my Powerpoint presentation for tomorrow's Planetary Society event here in Pasadena, a celebration of 35 years of the Voyager mission. While I was doing that, I realized that I didn't know of any amateur-processed versions of Voyager's departing photos of Uranus. JPL's version is, as far as I'm concerned, an iconic photo. Could I do better? After putting the kids to bed, on a night when my husband was out of town and I was feeling a bit depressed, I put on some Dave Brubeck and turned to the PDS Rings Node to see what the data looked like and what I could do with it.
The short answer to my question is that I don't think that the application of my level of image processing skill made any noticeable improvement over the iconic photo. But, at least, my versions are different. Voyager 2 took several hundred photos of a crescent Uranus as it coasted away from its flyby, but you only ever see one version. So here's two of mine. Use them in good health!
The first one was taken soon after the flyby with the wide-angle camera:
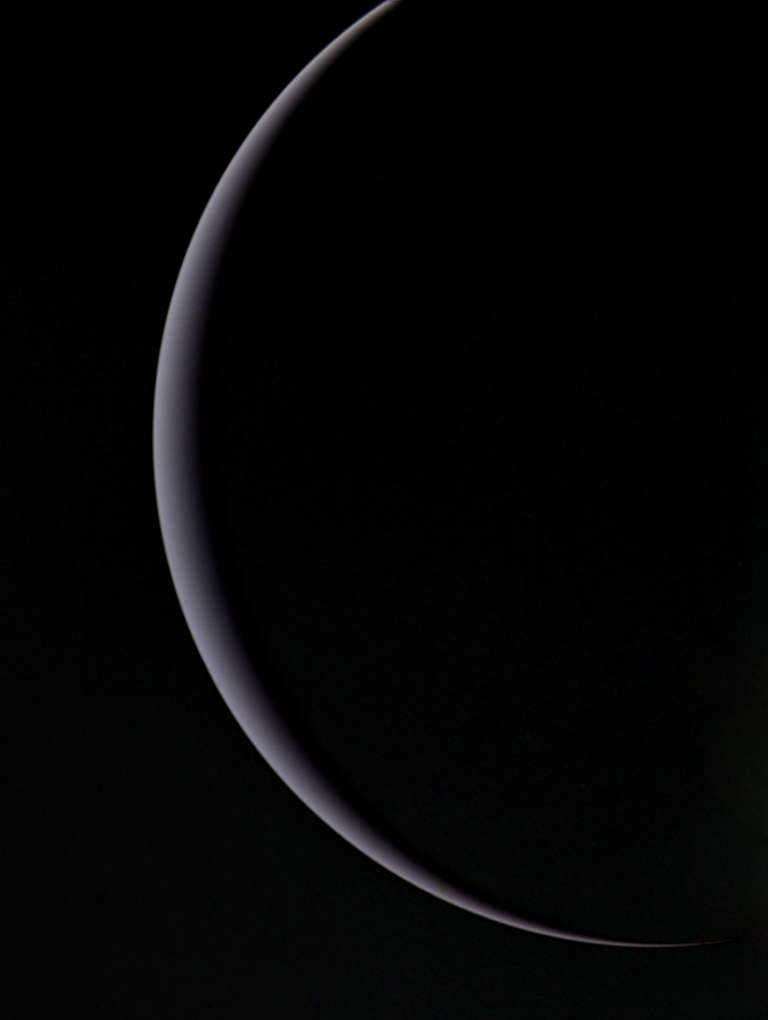
And this one was taken about a week later. It may be smaller than Saturn or Jupiter but it's still a big planet, and took a while to disappear from Voyager 2's rear-view mirror. The spacecraft did have to use its narrow-angle camera to see this much detail:
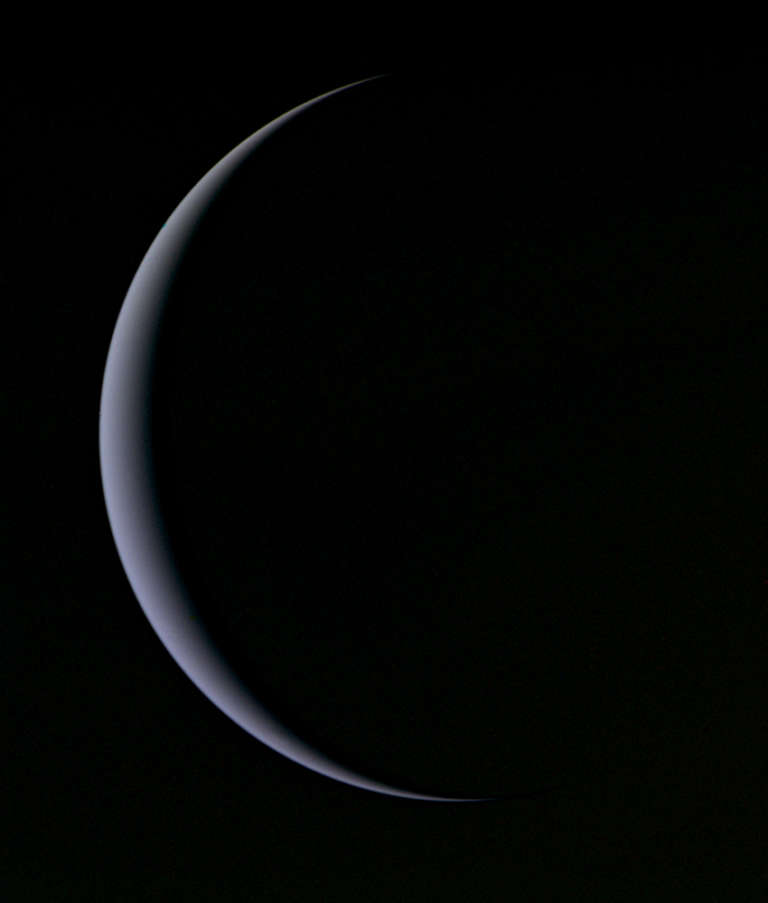
I'll be perfectly honest: I am not sure that there was any point in making the effort of resizing and aligning three images captured through different filters to produce these color photos. At the time that Voyager 2 flew past Uranus, it was high summer in the southern hemisphere, and the constant solar illumination had locked Uranus' atmosphere into a constant state that appeared like a bluish-gray cueball, with no apparent variation in color. I might just as well have used a single photo and tinted it slightly blue. But it feels good to have gone through the exercise.
I tried a couple of new things this time. First, I used an image captured after the encounter, targeted at nothing in particular ("sky"), as a flat field. Making that the topmost layer and setting it to "difference" mode corrected the Voyager images' tendency to brighten toward the corners. (I used different flat fields for narrow- and wide-angle cameras.) Also, at the recommendation of a reader, I used the Photoshop "spot healing" brush rather than the clone tool to deal with the black blemishes of the Voyager reseau marks. That worked beautifully. All in all, a productive session of playing with Voyager data!
The Time is Now.
As a Planetary Defender, you’re part of our mission to decrease the risk of Earth being hit by an asteroid or comet.
Donate Today

 Explore Worlds
 Find Life
 Defend Earth