
 Explore Worlds
 Find Life
 Defend Earth
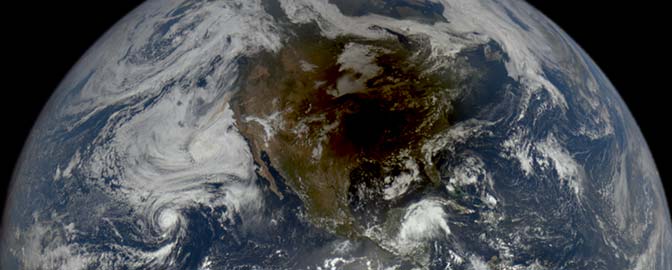


Emily Lakdawalla • Feb 04, 2013
A new rover self-portrait and a new color image of Curiosity from orbit
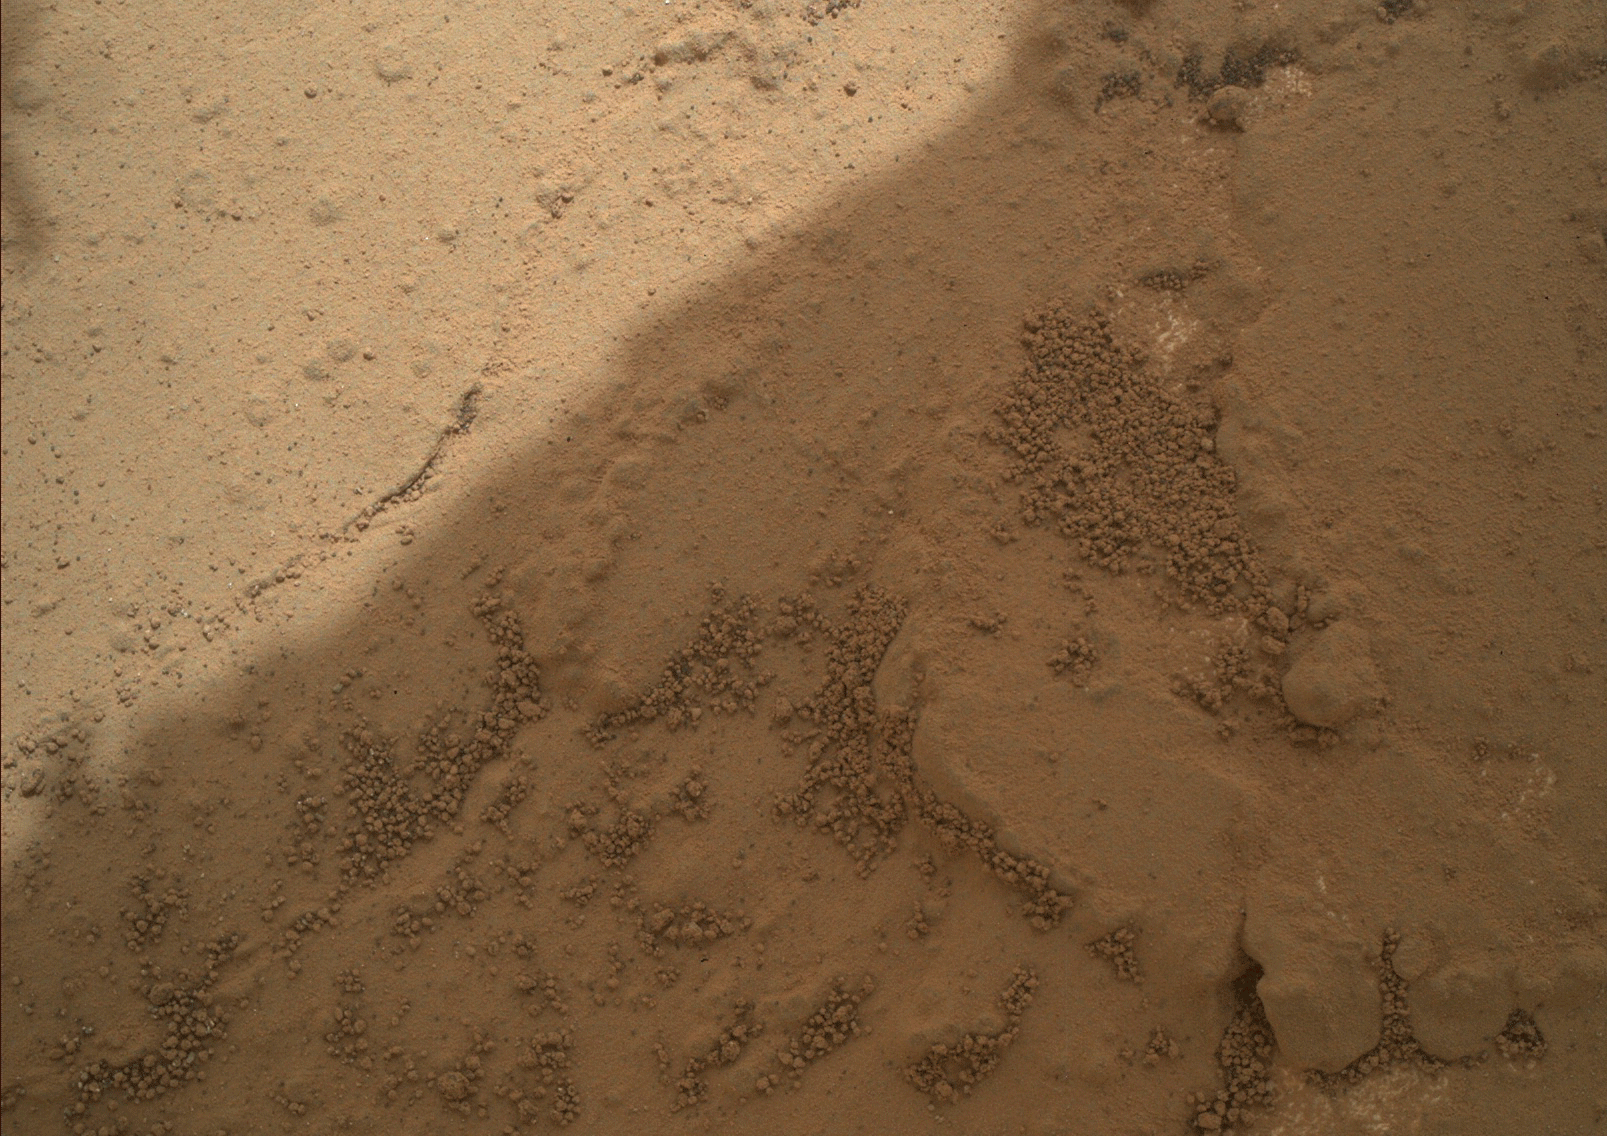
Today it's sol 178 for Curiosity and the first drilling work is proceeding, though slowly. Curiosity made her first toothmark in a Martian rock on sol 174. They didn't command the bit to rotate at all for this first test; they just used the percussion mode, bang-bang-banging at the rock. They did make a little bite but the sequence errored out before it went to completion, which resulted in sol 175 being a "runout" sol (in which the rover executes a "safe" sequence involving remote sensing but no arm work). Although annoying, these kinds of anomalies are totally normal with arm work on Mars, especially for any operation being done for the first time, and I'm sure there will be more of them as Curiosity proceeds.
They got "after" photos of the sol 174 drill spot on sol 176, and then got a very similar sequence to work to completion, resulting in another bit-mark on a different spot on the rock. Here's a summary of the drilling activities to date, including a really cool sol 172 photo of the drill bit shot using ChemCam. To my eye this rock looks super soft, but I don't know how much my interpretation is worth. We've been discussing what the images imply at unmannedspaceflight.com.

And here's a nice before-and-after pair of images on the second drill spot.
Evidently the Curiosity team thought that the John Klein site within Yellowknife Bay was a great spot for a new rover self-portrait, and I agree. Like the previous one, this view is a rover "selfie" shot using MAHLI, camera on the end of the robotic arm. It's a mosaic composed of 64 individual photos.

Look at all of that delicious bedrock. I can't wait for the early science results from this spot. There should be enough time between now and the Lunar and Planetary Science Conference in mid-March for the science team to at least have some kind of first impressions of the powdered rock samples that they will hopefully get into the SAM and Chemin analytical instruments soon.
Let's get a close-up of the rover's pretty face, sized to make a nice slide background or desktop wallpaper:

And, just to add to the fun, here's a separate panorama looking under the belly of the rover at the wheels.

Aside from the fact that the image is aesome, I'm glad they posted a new one of these because it gives me the chance to try to explain again how this photo was made. When I posted Curiosity's first self-portrait, I got an awful lot of questions asking where the arm was. I answered that since the camera is on the arm, most of the arm was always out of the frame of the image, but that didn't seem to reduce people's confusion any. So let me try two other approaches to answering that question.
First of all, here is a mosaic of all 64 of the MAHLI photos, except this time, they're not blended, they're just laid out as tiles. It should give you an appreciation for the work it took for Ed Truthan to assemble the above pictures so seamlessly.

There are only four photos in this set that contain any of the arm. I'm showing those four photos bigger below. You can see where the arm is attached to the rover. Unlike the ball-and-socket joint that humans have in their shoulders, which can rotate any which way, the rover's shoulder consists of two distinct parts, each of which can move only in one plane. It has one rotating part that allows the rover to swing the arm right and left (that's the one I've labeled "shoulder rotation"), and another that allows the rover to raise the arm up and down (that's the one I've labeled "shoulder elevation").
The rover's arm then consists of two roughly equal-length aluminum tubes with an elbow joint in the middle. In these photos, there are only two frames where you can see any of the upper arm, and the lower arm isn't visible at all. (In fact, I'm not sure the rover is capable of rotating its wrist in such a way that MAHLI can ever get the lower arm into its view.) In one, we're looking at the underside of the upper arm (a white tube), and in the other, we're seeing the top side of the upper arm (which has a gray plate mounted on top of the tube).
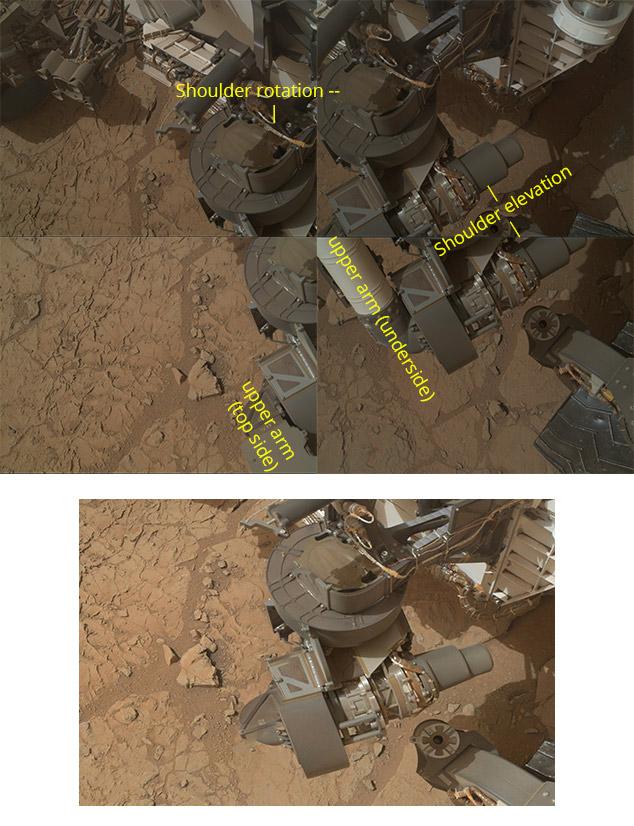
Now, there's no perfect solution for mosaicking these together. One way or another, the arm has to be truncated somewhere. Whoever assembles the mosaic has to figure out a way to discreetly cut and paste to hide the truncation as neatly as possible. I've shown a zoomed-in view of the shoulder joint from Ed Truthan's mosaic, where you can see that the arm has been amputated. There's a tiny area where a view of the underside of the arm fades into a view of the topside of the arm, but it's hard to spot unless you're looking for it.
It's no accident that the arm is almost completely out of view -- they wanted to get the best-looking portrait with the fewest seams possible, and the way that they shot it allowed them to have no visible seams except for that one little spot at the shoulder. The video below shows the complex arm motions necessary to capture these 64 images. When I imagined the rover shooting this sequence, I imagined the arm holding still and the turret pivoting up and down and side to side like an az-el mount on a telescope. But that's not how they did it at all. The arm moves significantly for each and every frame. Why do they do that?
Take a close look at the turret to see if you can identify which part is the MAHLI. If you watch it very closely, you will see that for all the arm's gyrations, MAHLI itself hardly moves in space. They performed the motions in such a way that the origin of the point of view of every single image was at the same spot in 3D space. That means that there is virtually no parallax from image to image, no places where a shift in perspective made a foreground bit of rover shift with respect to a background bit of rover. Without all those gyrations to keep MAHLI still, there would have been seams galore in the resulting image. Very, very tricky of them!
Animation of Curiosity Rover's Arm Movements for Taking a Self-Portrait This animation shows how the Mars Hand Lens Imager (MAHLI) camera on NASA's Mars rover Curiosity was positioned for taking multiple images that were combined into a self-portrait.Video: NASA / JPL
If this view of Curiosity weren't enough for you, there's a new Mars Reconnaissance Orbiter HiRISE shot of Curiosity in color, from sol 157. I thought I'd rotate it 90 degrees (so north is at left) so I could print the long skinny photo nice and big on the page. Enjoy!

Let’s Go Beyond The Horizon
Every success in space exploration is the result of the community of space enthusiasts, like you, who believe it is important. You can help usher in the next great era of space exploration with your gift today.
Donate Today